This is the second post in a series on getting started with DevOps in a Xamarin project. In this post we will be looking at automating the build process which gives you the advantages of improving your code quality, takes away tedious tasks and compiles a history of builds and releases in order to investigate issues. So let’s get started with the Android side of things!
Other articles in this series
Make sure to check out some of the other articles in this series!
- The build agent
- Setting up your Android CI (this post)
Setting up the Xamarin Android build
To set up a Xamarin Android build we can use the pre-defined template. This contains build steps that create an APK file which should be a familiar concept for Android users. So let’s select the template and start creating our build definition!

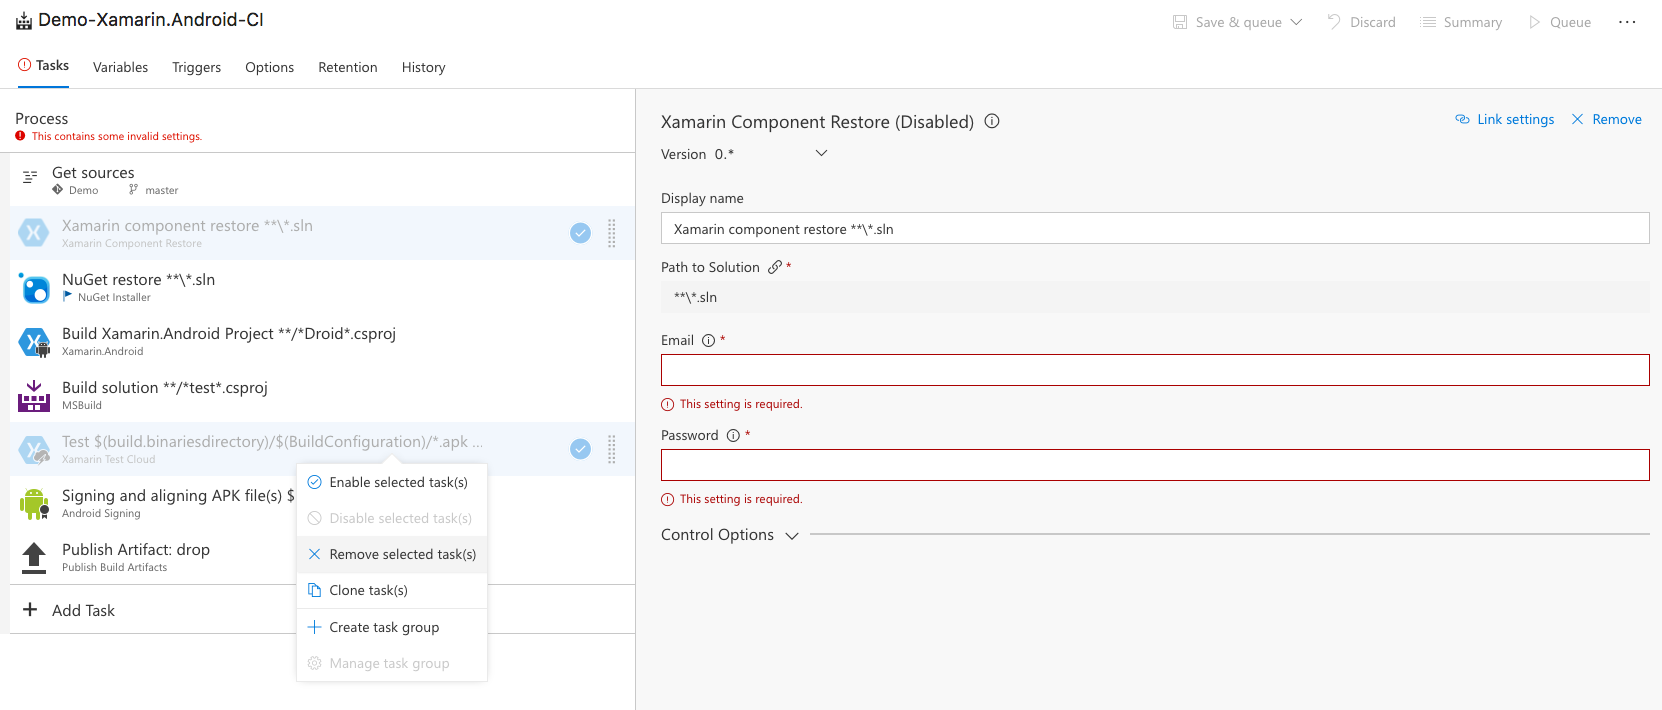
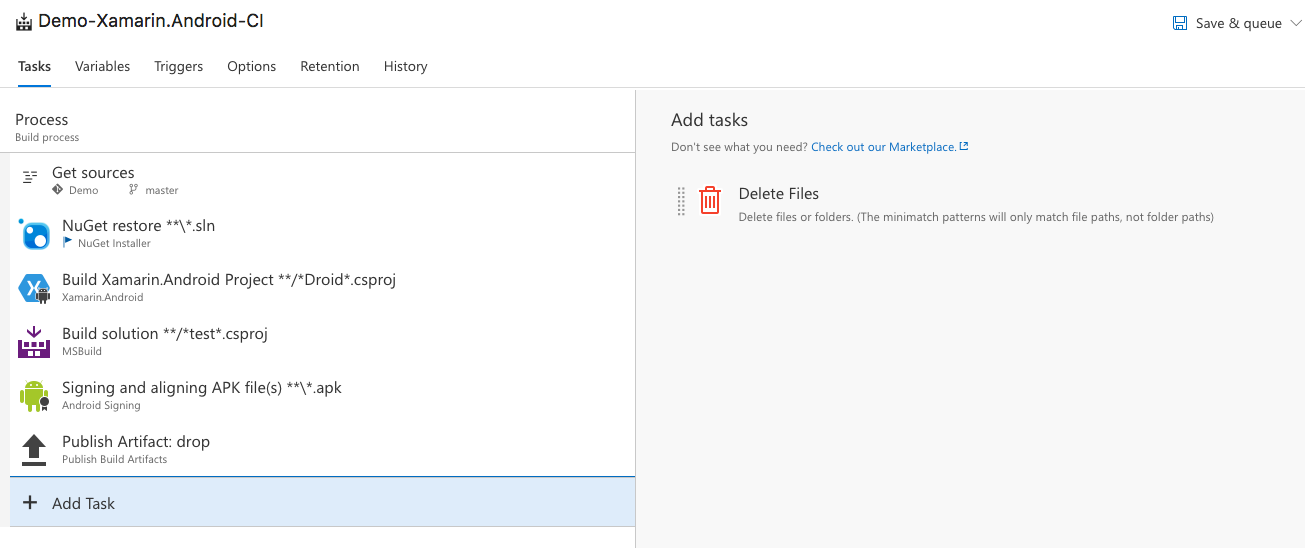
This gives us the build tasks displayed below. You can see that some of them are greyed out which means they are disabled by default. While you could leave them in the definition we don’t quite need them just yet. We can remove these by right clicking on them and selecting Remove Selected Task(s).
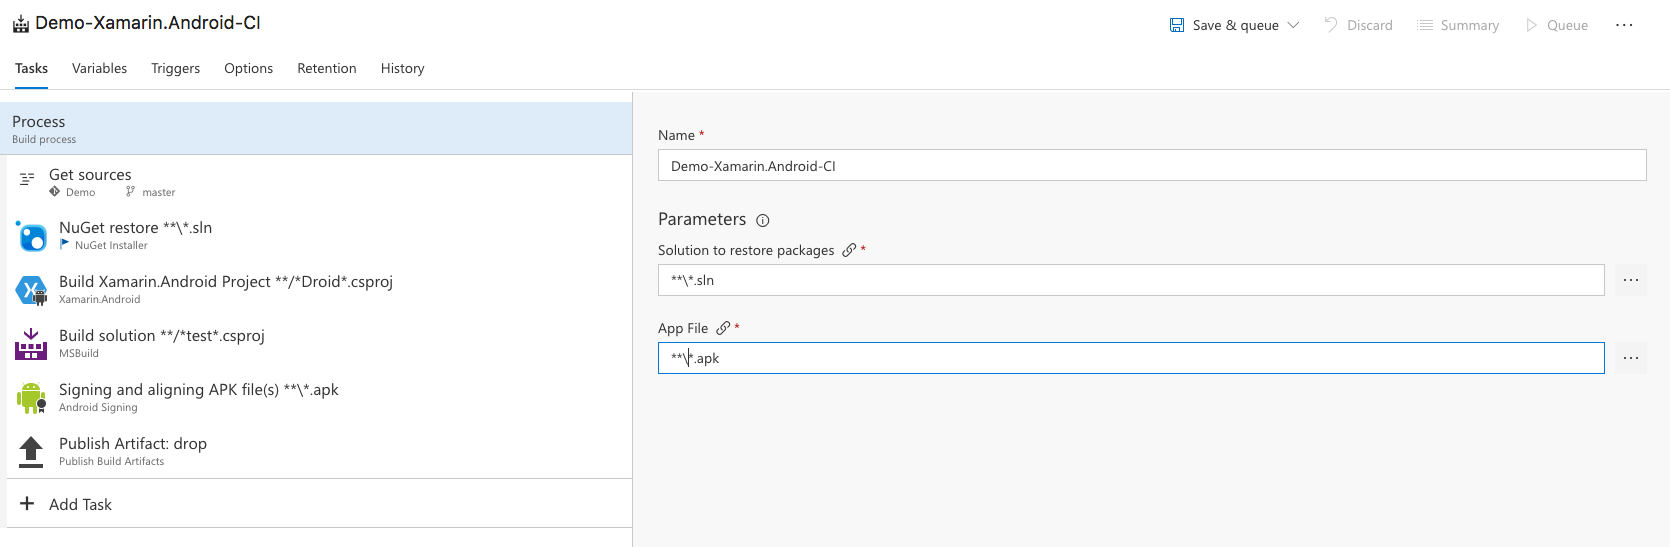
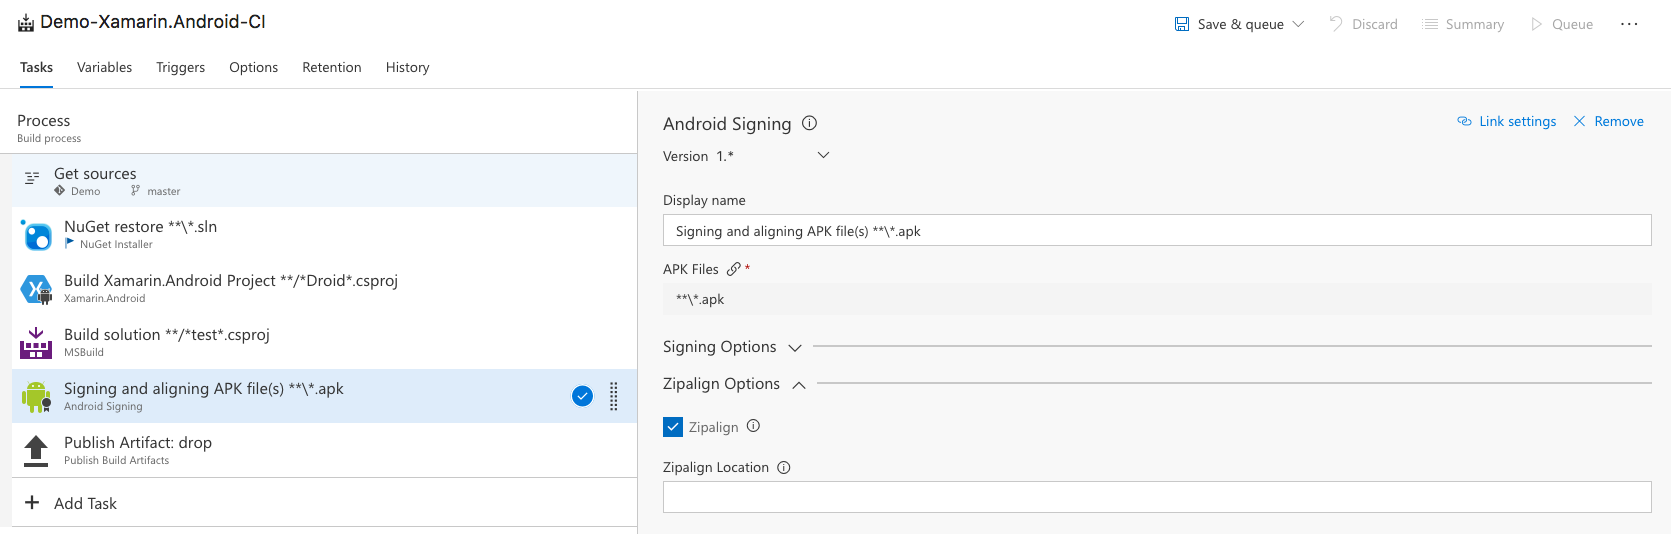
Click on the Process part on the left and set the App File variable to **/.apk* which will ensure that the APK file that gets built is picked up and signed. This is needed to deploy the APK at a later point in time.
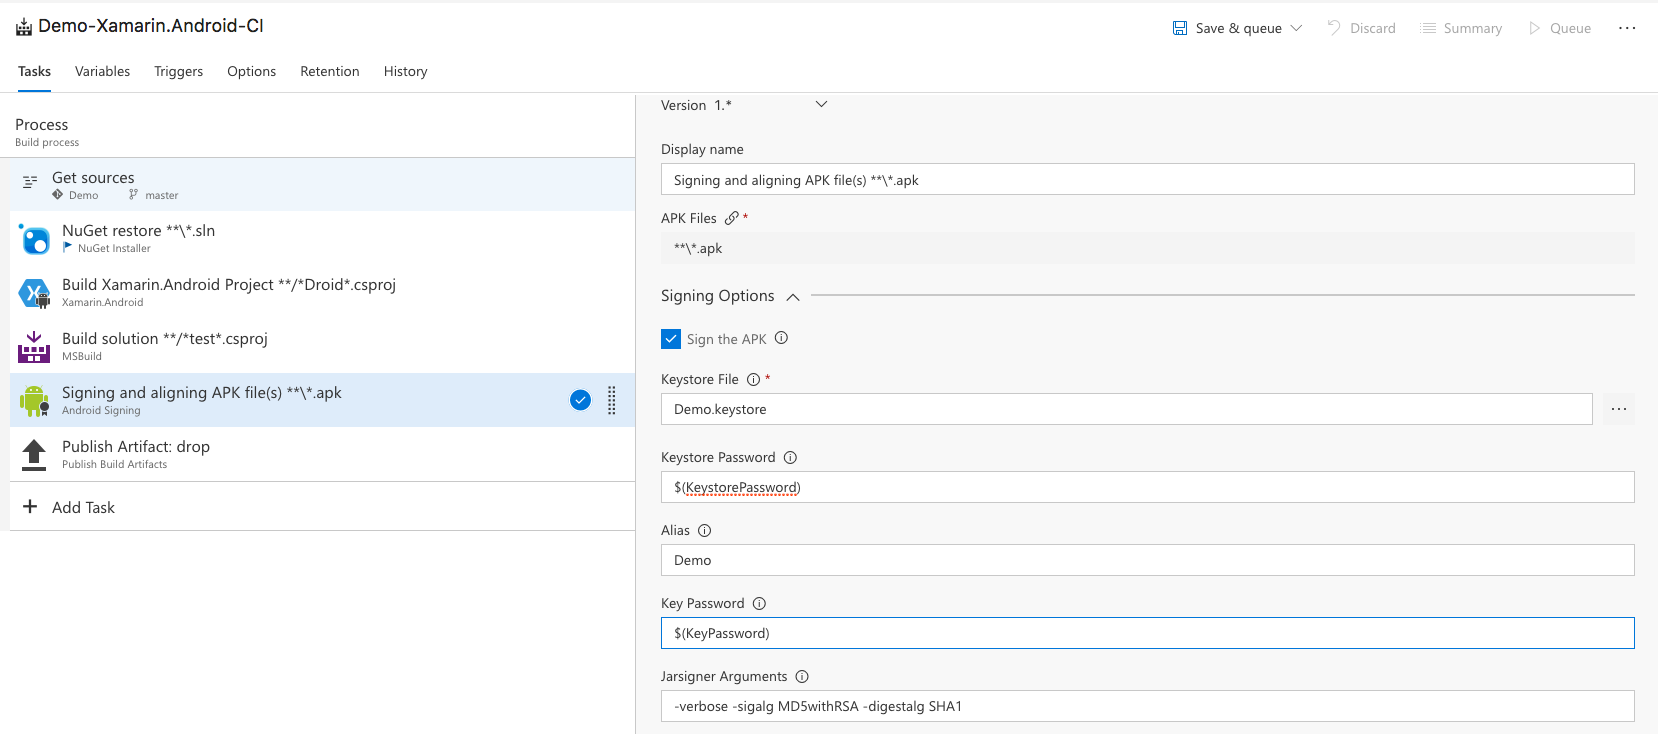
Next up we click the Signing and aligning APK file(s) step and check the Sign the APK checkbox. The four fields that follow are important when signing your Xamarin Android APK. If you have never created a keystore or signing key before you can follow Xamarins excellent tutorial on the topic. After you’ve done that you can link your Keystore File in the first field. When generating a keystore you have to provide a password. Because we don’t want that to show up in this build step in plan text we create a variable for it and reference that. For now we put $(KeystorePassword) into the Keystore Password field. In the Alias field enter the alias you specified when creating the keystore and for the Key Password we use the variable approach again and put $(KeyPassword) as its value.
The final step is to check the Zipalign checkbox in the appropriate section just below the Signing Options section. Zipalign is an archive alignment tool that provides important optimisation to Android application (APK) files. There’s a few steps in this build definition that we haven’t talked about. The NuGet restore works out of the box, except for when you have a private NuGet store where you get your custom packages from. In that case, you need to specify the path to your custom nuget.config file. The test assemblies step is there to check for projects containing tests but if it can’t find them it won’t impact your build. The Publish artifact step is important because it provides the artifacts (in this case the built APK file) to a release step later on in the continuous deployment part of your pipeline.
“Cleanup on aisle 9!”
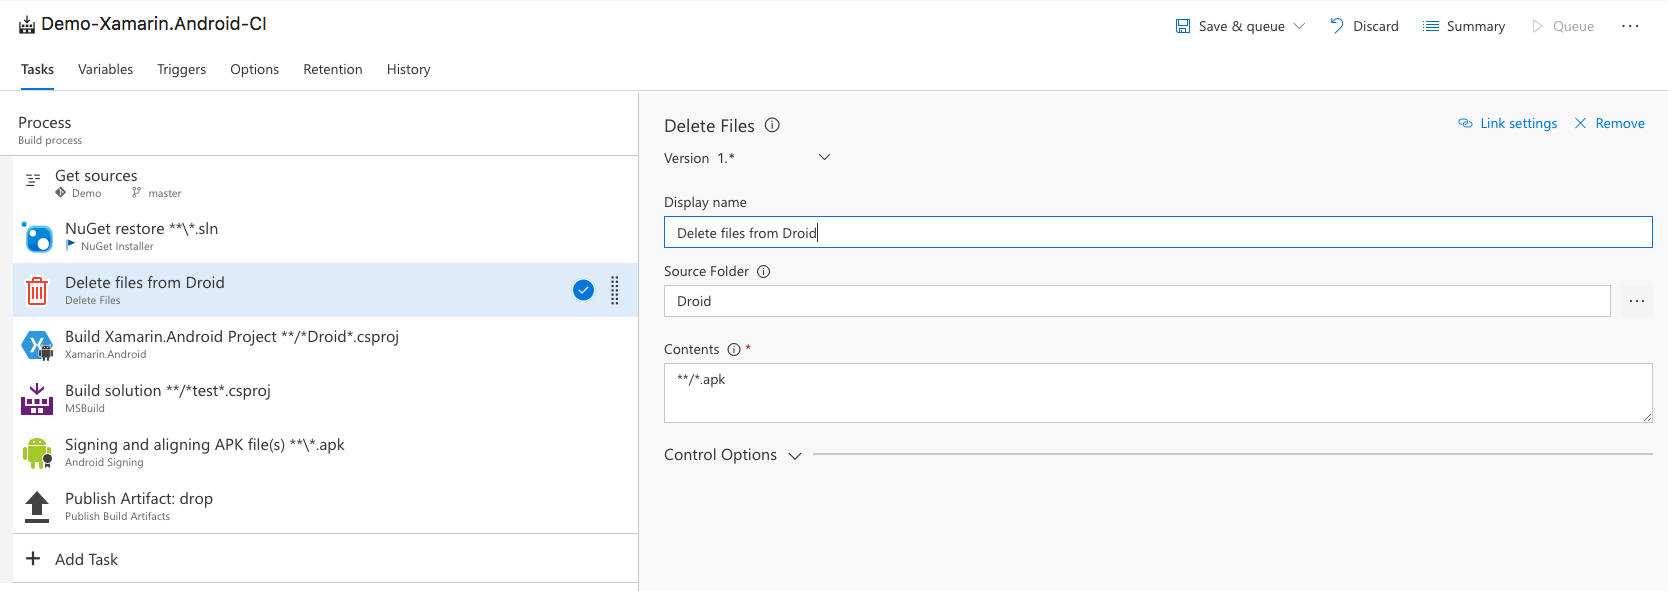
The first time we run this definition we probably won’t encounter any problems. However as we queue more of these builds the APK files will pile up on the server. Since our build step finds the APK on the server for signing we will inevitably run into problems. It might pick up the wrong APK file and we will end up with old versions circulating. To ensure we always have the correct version we add a Delete files task to cleanup the previous APK files before our build.
Drag this step before our build steps and set the Source Folder to the Android project folder. Set the Contents variable to **/.apk* to ensure that we cleanup all the APK files still present in this folder and its subfolders. That’s it!
Specifying variables and triggers
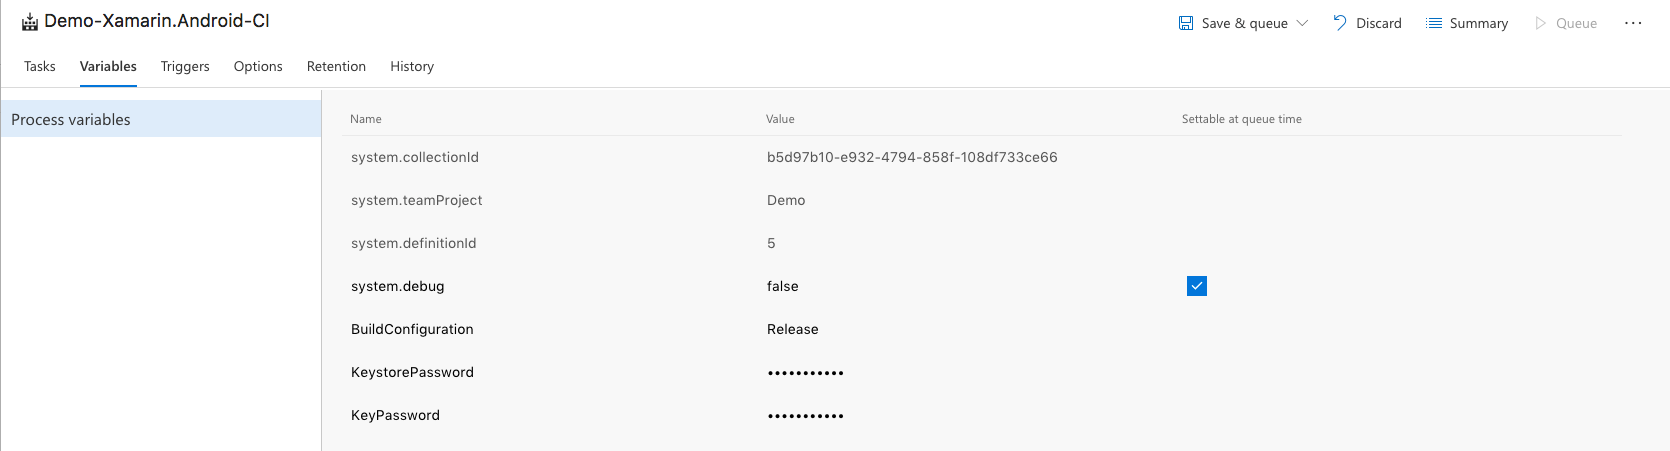
In the previous step we created some variables containing passwords related to our keystore. These variables need to be declared somewhere so let’s switch to the Variables tab and add them. You can use the lock icon to make sure that people with build definition editing permissions can’t simply read these values. Make sure you still have these passwords saved elsewhere because you won’t be able to read them either after clicking the lock icon.
Now we get to the part where we need to set a trigger for our build. Do we want to queue a build manually every time? Of course not! We want to setup continuous integration so let’s start by enabled that in the Triggers tab of the build definition. We can then define one or more Branch Filters. These filters define which branch to monitor for changes and tell VSTS to trigger a build as soon as a commit/push to these remote branches happens. An alternative to these Branch Filters are Path Filters which let you specify one or more specific paths in your project hierarchy to monitor. Both of these functions can be used in conjunction with one another.

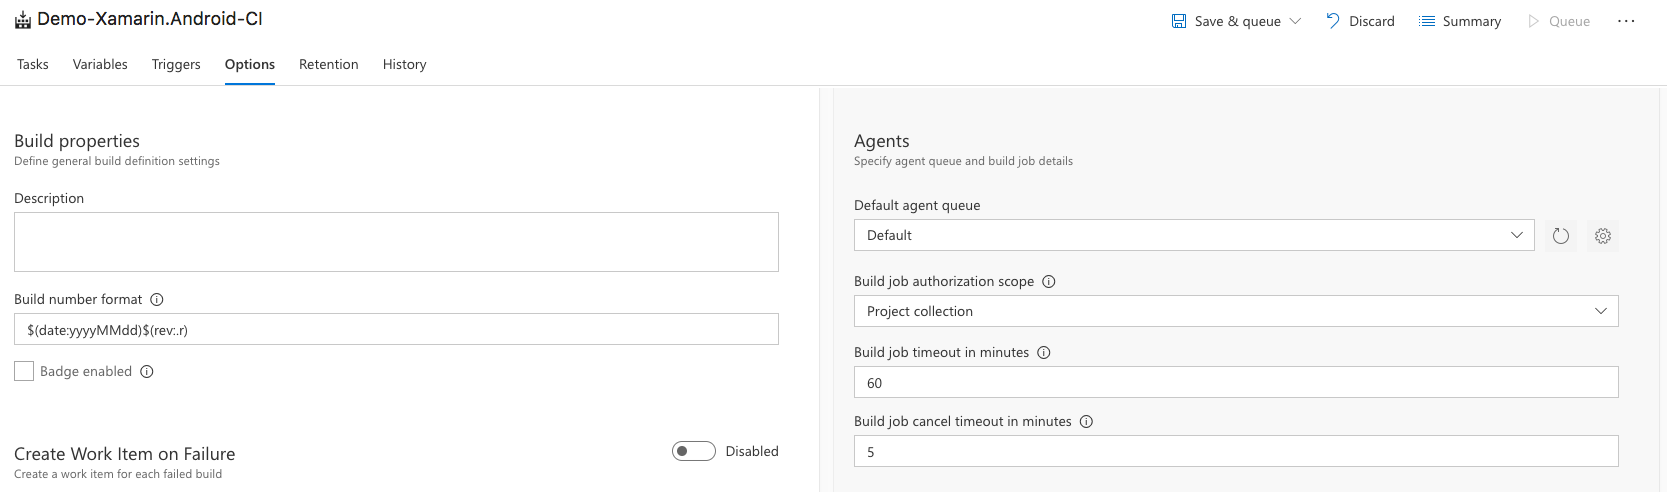
Select the build host
In the previous post we created a Build Agent that can handle our Xamarin builds. But we haven’t told this build definition to use it yet! This is the last step in our process and is as simple as switchting to the Options tab and setting the Default agent queue setting to Default.
Conclusion
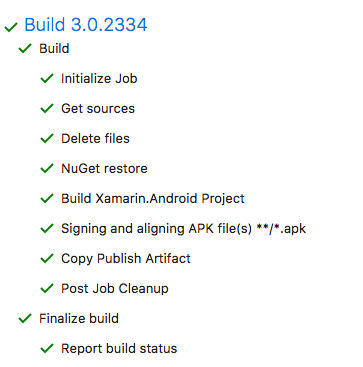
And that’s it! We created a Xamarin Android continuous integration pipeline! All that is left it to either manually queue a build to check if it works or to commit to the branch you configured. If all goes well you should see a load of green checkmarks like the ones below! Next up in this series is the iOS counterpart of this setup!